Sunday, November 23, 2014

Christmas Scene Card "How To"

In my previous post, I made a Christmas Scene. Here are the dimensions of the card.

8.5 x 11
Cut at 4.25" down the long side to make 2 pieces each 4.25" x 11"
Score along the long edge at: 0.5"   1.75"   5.75"   7"
Score along the short edge at: 2.75"

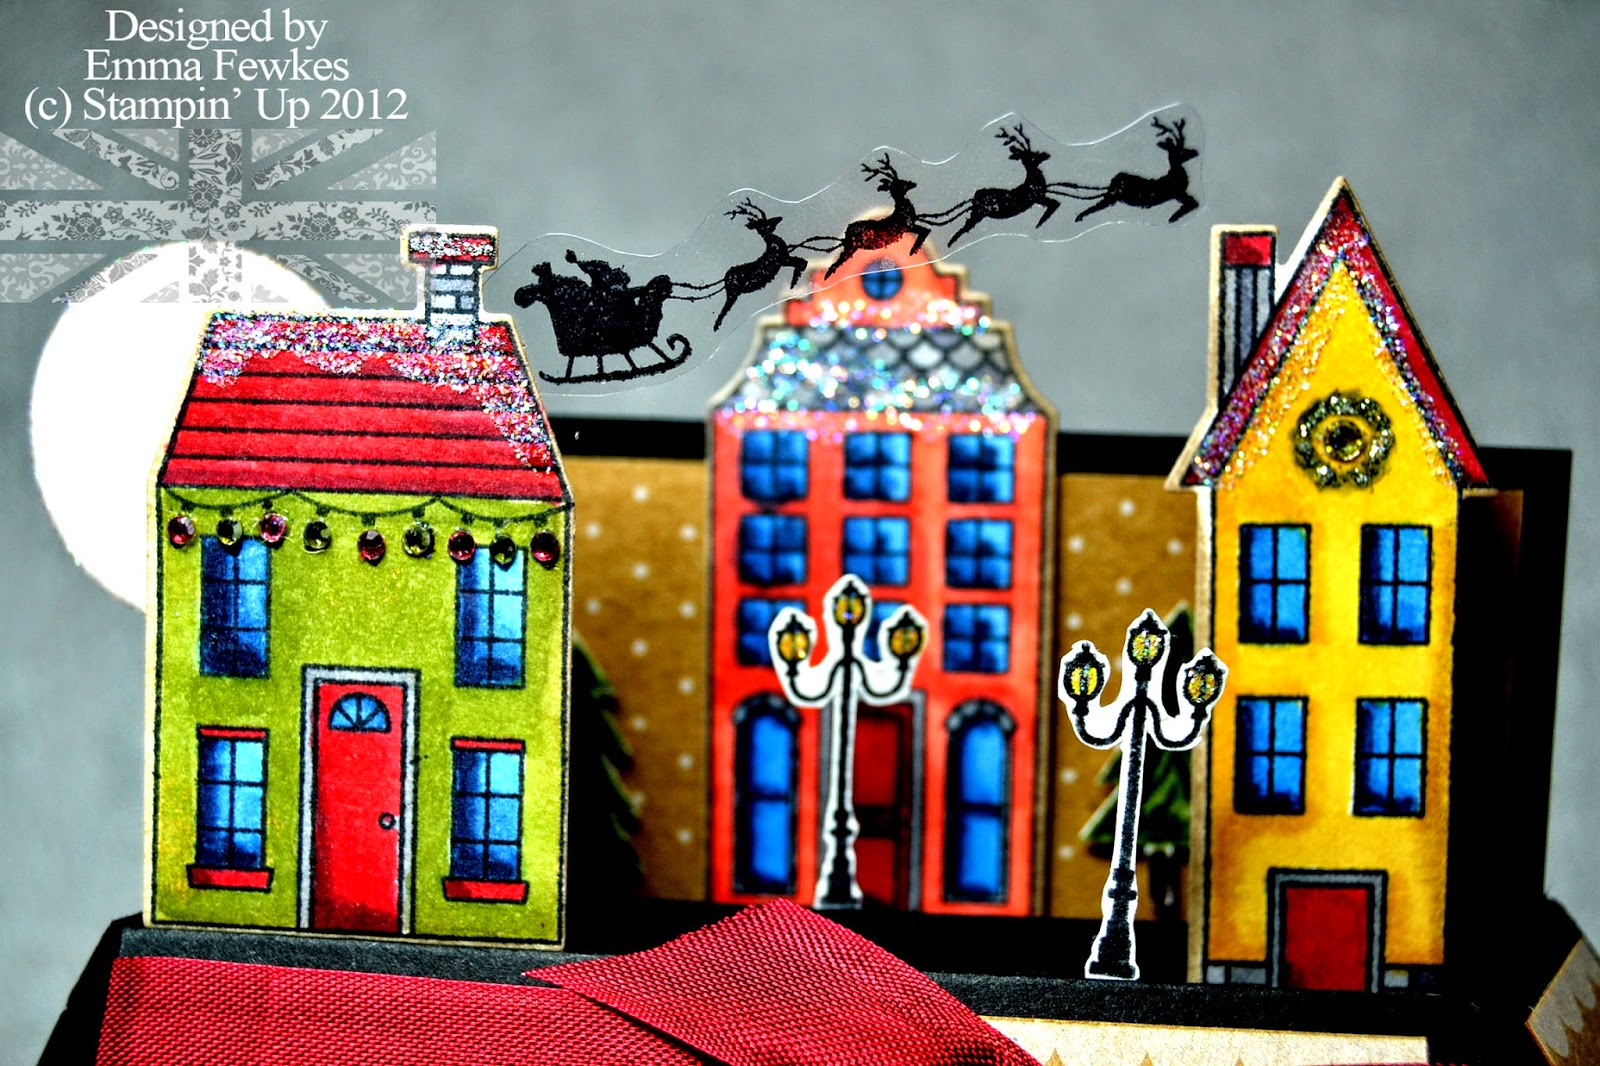
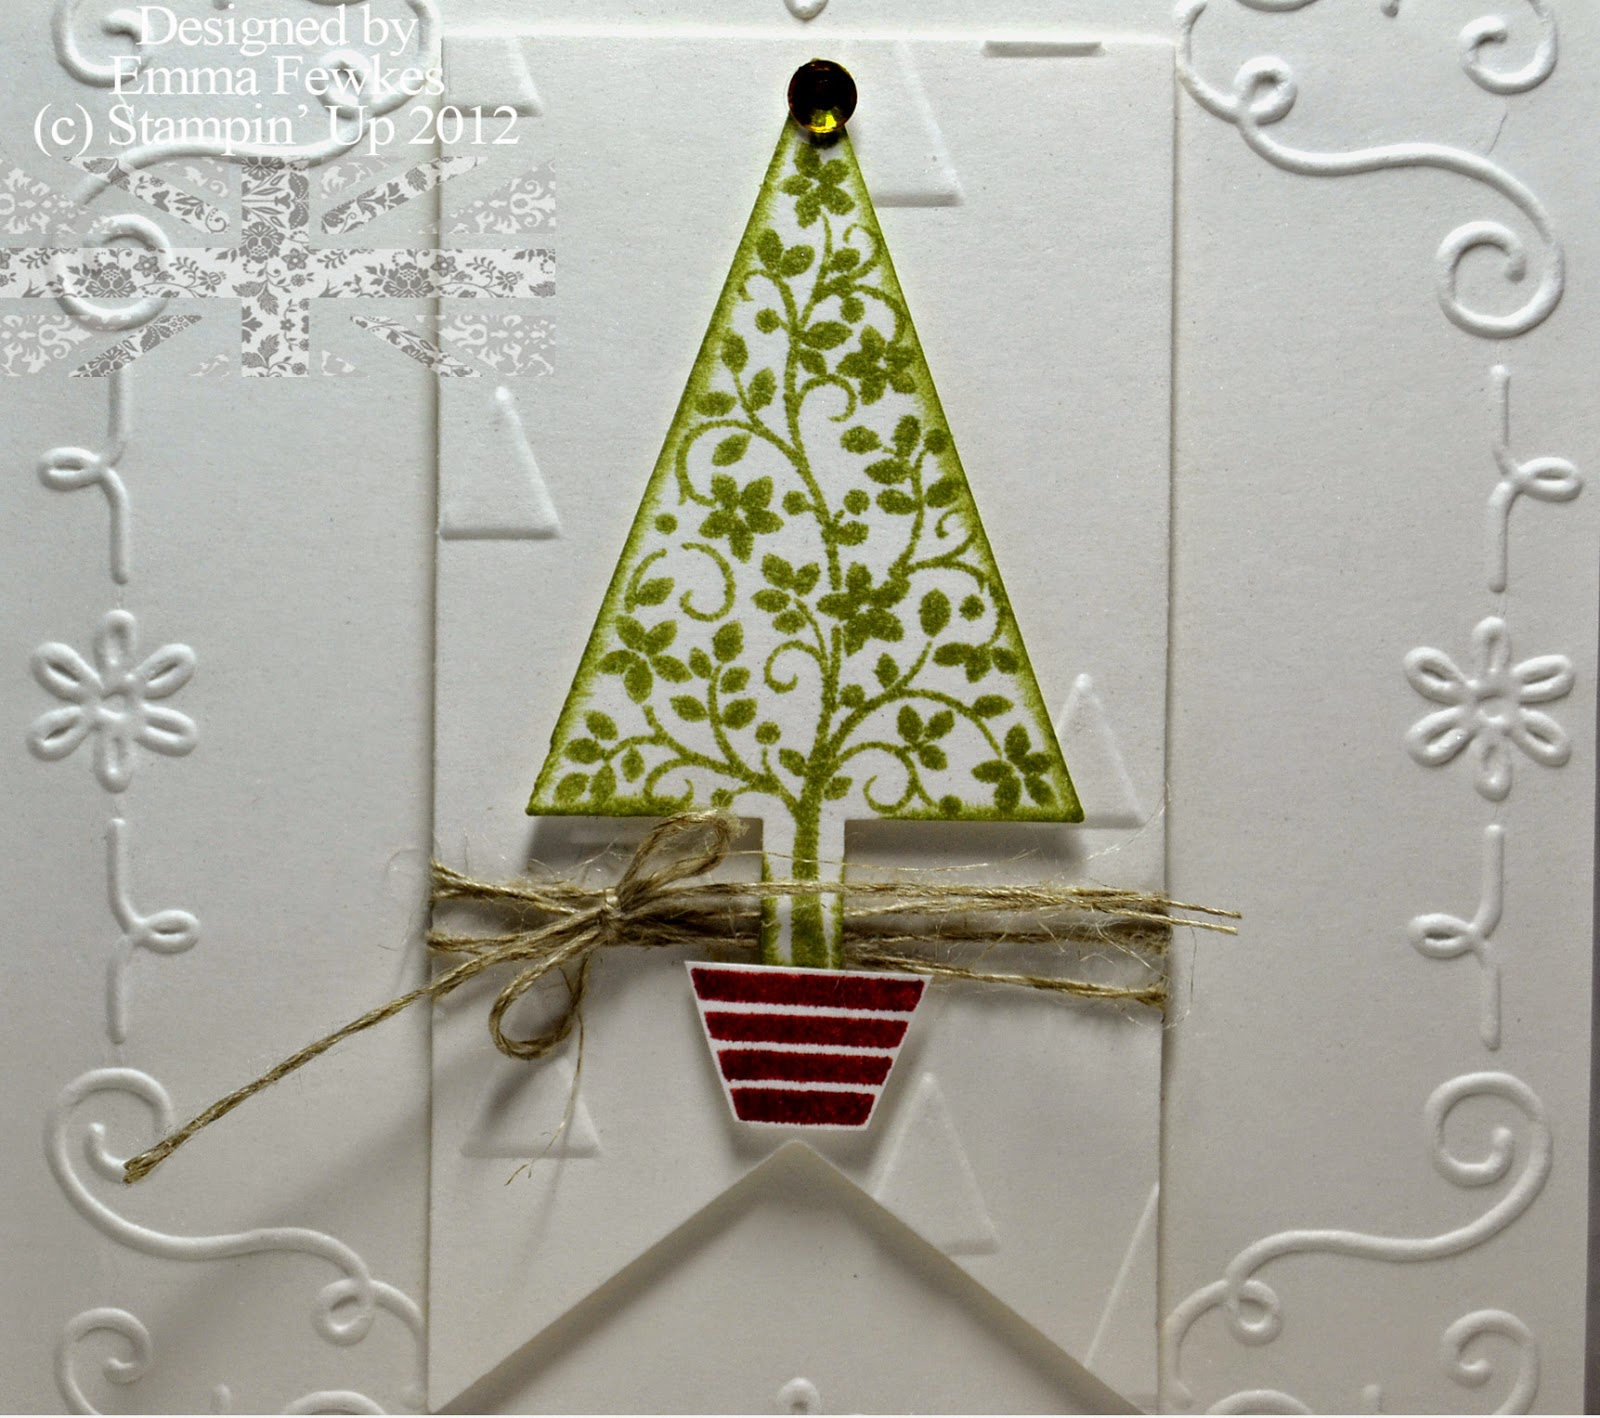
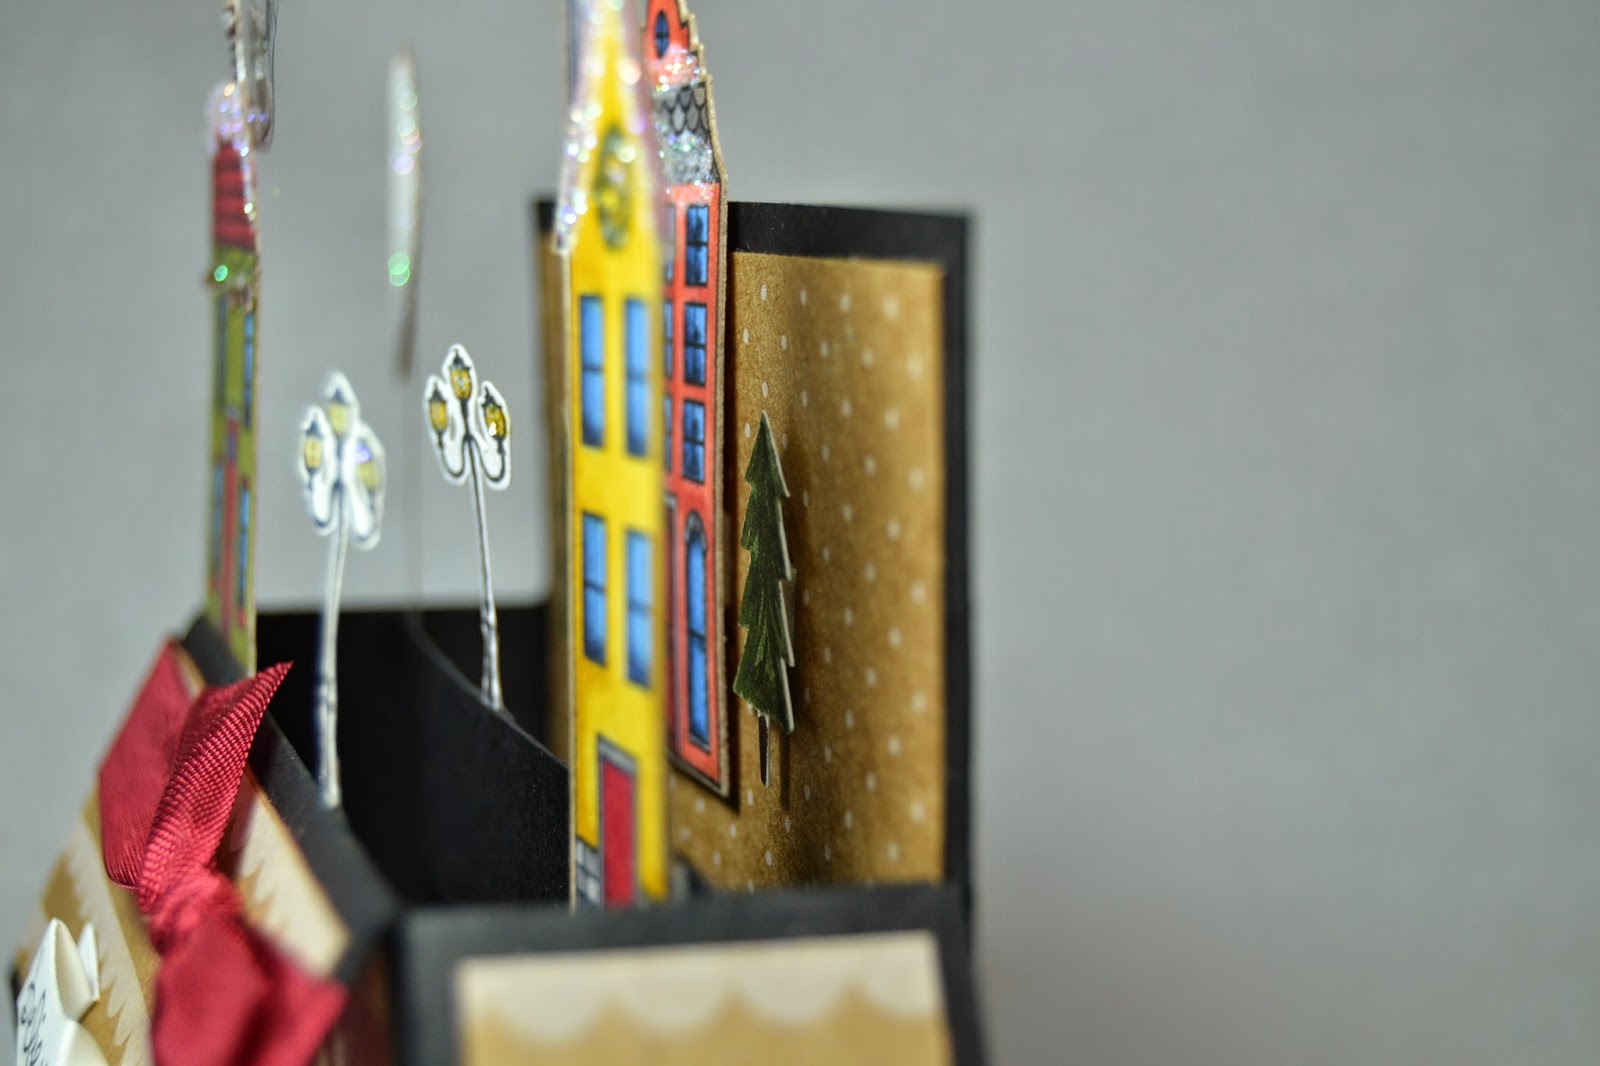
If you're a more visual person, here are some pics


Once the box card is assembled, take one scrap and cut it 1/2" wide, scoring the edges to make it fit across the center of the box. You will attach your images to the center-strip. Here's a pic of what I mean.


Leave me a comment if any of the above is unclear.

Christmas Scene

I made a Christmas Scene with the Holiday Home Bundle (available in our Holiday Catalog). I did come up with some dimensions for a Pop Up Box card using our 8 1/2 x 11 cardstock and you can make 2 cards from one sheet of paper. I like to be economical!!!

My next post will be the instructions for this style and shape of Pop Up Box. Have fun stamping!


Tuesday, November 18, 2014

Tags, Glorious Tags!

Just a few quick and easy make n' take tags for some of my friends to make. The star tag uses Lost Lagoon with the new star framelits and Bright and Beautiful stamp set. 


This tag is made from the new Under the Tree DSP and the tree punch. Very easy and effective. I'll be making lots of these for my Christmas presents.


Tuesday, November 11, 2014

Wedding Monogram

 I made a monogram wedding card for a friend. I used the invitation as inspiration and came up with a simple yet effective card. I haven't used the Daydream Medallions set much, but this seemed to fit the bill perfectly. 


Wednesday, September 24, 2014

A card with some "Boing"!

When cards have some movement in them, it's sometimes better to see them in the form of a video. This is actually a very simple card, made using the Star Framelits and the envelope punch board. Here are some 'stills' too ...


Tuesday, September 9, 2014

September Club


Here are some fun projects for my September Club tomorrow night. I've enjoyed playing with some new products and hope my lovely ladies will too!


Monday, September 8, 2014

Thankful Wreath

Finding time tonight to make a wreath for Fall. I didn't quite get the leaves lined up correctly, but it's simple and effective. New in colours are Hello Honey, Mossy Meadow and a punch of Pumpkin Pie. Pearls are coloured with Blendability Markers.


Thursday, August 21, 2014

August Club Projects

My club girls and I had a fun evening playing with some new "Holiday Mini" goodies. A link to the catalogue is in my side-bar. This box was made with the new Stampin' Up Gift Box Punch Board. Love that thing! Makes these gift boxes a breeze. 


Most of us with grown children are using gift cards more and more for birthdays and other occasions. In the main catalogue you can find a package of these lovely gift card holders. Page 194 "Gift Card Enclosure Pack". The petal pouch is all pre-cut and pre-scored, the gift card nestles in the middle perfectly with just enough room for the greeting. Apologies, mine got caught in the rain so the ink inside smudged a little.


Sunday, August 10, 2014

CREATIVE CREW AUGUST CHALLENGE

Each member of the Creative Crew for August was given a day to post a challenge, mine falls this week and it's to make a WINDOW CARD.

Window cards can really be made in a variety of ways. You can cut a frame on the front of your card, punch a hole, use a framelit with an interesting shape to make a hole, or window. Honestly, the sky's the limit.

Here are a few samples to whet your appetite to make a WINDOW CARD. If you'd like to play along, all the details can be found here: AUGUST CREATIVE CREW CHALLENGES.


Thanks to my sweet, kind, lovely friend DEBRA. She made a few samples too ....


I love her card. That new lace background stamp looks like wallpaper, and the trees from Lovely as a Tree are shimmering behind the sitting room window. Snow is falling too .... and look at the lace blinds. Wow. My gorgeous friend is hugely talented. Thanks Debra!